

Embed Tingg Button
The Tingg button offers a simplified method for integrating into Tingg Checkout
The following steps provide a guide on how to seamlessly integrate Tingg Checkout into your website or online store.
Please follow these steps carefully to achieve the desired outcome.
Including the Express Checkout Javascript Library
Step 1: Add the Express checkout JavaScript library to your online shop
<script src="https://developer.tingg.africa/checkout/v2/tingg-checkout.js"></script>Step 2: Create the checkout button.
Append the Proceed to Payment button on your web page.
<button class="awesome-checkout-button"></button>renderPayButton() accepts the following parameters
| Option | Values | Type | Required |
|---|---|---|---|
| text | any | String | FALSE |
| color | red, blue, pink, black, green, yellow, purple | String | FALSE |
| className | any | String | TRUE |
The className parameter should match the class attribute assigned to the checkout button, i.e. "awesome-checkout-button".
Tingg.renderPayButton({
    text: '',
    color: '',
    className: ''
})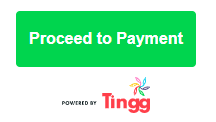
Rendered Tingg button
Step 3 : Setup an event listener on the checkout button
Refactor your code so that the click event callback triggers an HTTP post request to your encryption endpoint to get the encrypted checkout details. We will use the native Fetch API to make the HTTP requests. You can use any other method to make the request such as XHR, Jquery, and Axios among many others.
Set up a click event on the checkout button you previously created. You can do this using the following code:
...
document
    .querySelector(".awesome-checkout-button")
    .addEventListener("click", function() {
        //create the checkout request
    });
...
Step 4: Render the checkout page on click event
The renderCheckout() expects an object with two properties:
- merchantProperties: This is an object containing payment information required by express checkout for processing. These are the parameters returned from the encryption endpoint Encrypt Payload. The merchantProperties include three property objects:
| Parameter | Description |
|---|---|
| params | Your encrypted parameters. |
| accessKey | Your public key that will be used to authenticate your requests. This value can be retrieved here. |
| countryCode | The country where the payment is to be completed. |
- checkoutType- This render the type of checkout desired. i.e redirect or 'modal'
| Type | Description |
|---|---|
| redirect | Renders the full checkout page in your browser. |
| modal | Renders the checkout on top of your page as a popup. |
...
    Tingg.renderCheckout({
        merchantProperties: {
            params: '<ENCRYPTED_PARAMETERS>',
            accessKey: '<ACCESS_KEY>',
            countryCode: '<COUNTRY_CODE>'
        },
        checkoutType: 'redirect', // or ‘modal
    });
...
Step 5: Redirect using embedded button
Final redirect example code:
<script src="https://developer.tingg.africa/checkout/v2/tingg-checkout.js"></script>

<button class="awesome-checkout-button"></button> <!--any name-->

<script type="text/javascript">
const payload = {
    // un-encrypted parameters collected from a request in json format
};

// Render the checkout button
Tingg.renderPayButton({
    text: 'Proceed to Checkout',
    color: 'purple',
    className: 'awesome-checkout-button',
});

document
.querySelector('.awesome-checkout-button')
.addEventListener('click', function() {

            //Call the encryption URL to encrypt the params and render checkout
            function encrypt() {
                return fetch(
                    "<YOUR_ENCRYPTION_ENDPOINT>",
                    {
                        method: 'POST',
                        body: JSON.stringify(payload),
                        mode: 'cors'
                    }).then(response => response.json())
            }
            encrypt().then(response => {
                    // Render the checkout page on click event
                    Tingg.renderCheckout({
                        checkoutType: 'redirect', // or 'modal',
                        merchantProperties: response, //{params: '', accessKey: '', countryCode: ''}
                    });
                }
            )
                .catch(error => console.log(error));
        });
</script>
The resulting checkout page will be as per the screenshots below: Setting checkoutType to "redirect" will cause your customer to be re-directed to the Tingg checkout.

Re-direct payment options page.
Setting checkoutType to "modal" will render a pop-up on top of your web page, meaning the customer does not have to leave your website to make a payment.
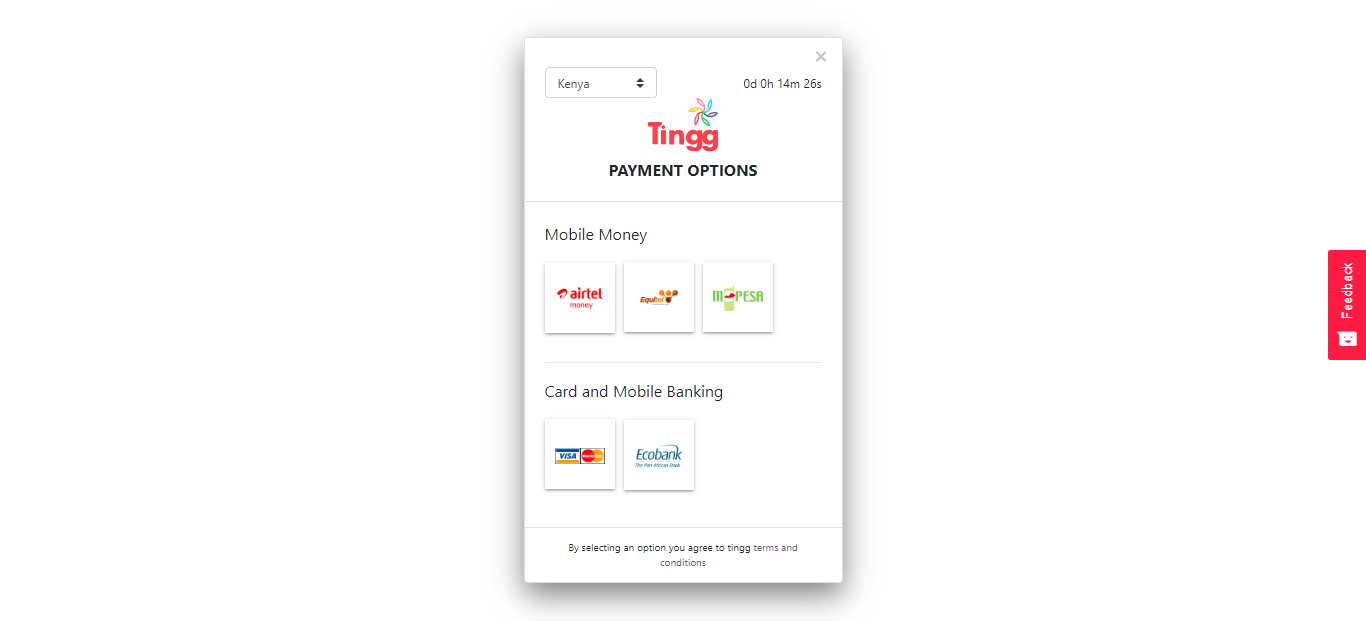
Pop-up (modal) payment options page.
Updated 5 months ago